Monday 22 December 2014

Garden Herb Green Goddess Dip and Salad Dressing

 Originating in the 1920's at a San Francisco hotel, Green Goddess Dressing has indeed been around for a long time. This is my version of it. Packed with fresh herby flavour it is great with fresh veggies, a garden salad, just picked tomatoes and it goes particularly well with hard boiled eggs.


Just a few basic ingredients. No fillers or preservatives here.

The avocado makes the texture silky and smooth, the fresh herbs provide a flavour punch and the lemon and yogurt give it a nice tang.

Vary the kinds of herbs to suit your family. As long as they are fresh , any herb could be used.


I like to make this using my ninja blender cup. You will need a blender to make this dressing.

Everything goes onto the blender. Easy peasy.


In the summer, people prefer to have lighter fair like veggies and salads and the like. This dip will take your raw veggies to another level.

It will keep for a week in your refrigerator.

It is also good on sandwiches and wraps.


Or on top of a garden salad.
So fresh and tasty


Garden Herb Green Goddess Vegetable Dip and Salad Dressing
1 ripe avocado
1/4 cup mayonnaise 
1/4 cup Greek yogurt
1/2 cup fresh herbs, packed ( I like cilantro, parsley, and basil)
1 clove garlic, minced
1/2 green onion
1/2 lemon, juiced
1 teaspoon on honey
1/2 teaspoon salt
1/2 teaspoon pepper

Saturday 29 November 2014

Parmesan Chicken Wings

A great make-ahead, these wings freeze well and are great to serve not only at football games but any time that you need a handy snack or appetizer. Way better than anything that you can buy in the store.


Combine the Parmesan cheese bread crumbs, paprika, garlic powder, salt and pepper.
Set up the assembly line. Chicken, then melted butter, then crumb mixture. Prepare your pan. I like to cover the baking sheet in foil and then lay a sheet of parchment down for easy clean up. 
Parchment paper is great, I love it. Nothing sticks to it. You do not need to spray or coat the pan with anything.


Dip the wings in the butter, then into the crumb mixture press the crumbs onto the chicken, then place the chicken onto the parchment lined  pan


Dip


Coat


Dip, coat, repeat. Continue until all the wings are coated 


Bake at 350 degrees, for 30-40 minutes until the wings are golden brown. 


Delish!
These wings freeze very well. I like to make a bunch to freeze. Bake them from frozen for 15 minutes or until they are heated though. 
They are great to have for football games, for Christmas, New Years or when ever you need a quick snack.


Parmesan Chicken Wings
1 cup grated parmesan cheese
1 1/2 cup dry bread crumbs
1 teaspoon paprika
1/2 teaspoon salt
1/2 teaspoon pepper
1/2 teaspoon garlic powder

3-4 pounds Chicken wings
3/4 cup melted butter

Combine the first six ingredients into a large shallow bowl. Melt butter into a shallow dish. Set up your work surface so that you will have the chicken, then the butter, then the crumb/cheese mixture. Dip the wings, one at a time, into the butter, then into the crumbs, then onto a parchment lined baking sheet. Bake the wings at 350 degrees for 45 minutes or until browned.

Saturday 11 October 2014

Best Salsa


A labor of love. You can not buy anything that even comes close to how good this is. It takes a bit of time but the results a so worth it. Use the best quality produce that you can find. If you can't grow the produce, buy it from local farmers. Make this in the fall to have all winter long. 
Next spring plant a salsa garden. Tomatoes, peppers, jalapeños, onions and cilantro. Presto, salsa!


Start with the jars. Everything must be clean and dry. Wash it all with hot soapy water or run them all in your dishwasher on the "high temperature" setting. You must use jars that are meant for canning. I purchased mine at my local grocery store. Try Walmart or Peavy Mart too. The jars, lids and screw bands all come in one package and you can also purchase the lids and screw bands separately. For more information son home preserving look here or here. Using a stainless steal bowl, soak the lids in hot water, this will soften the sealing compound so that your jars will seal as they cool.
Don't be intimidated, our Mother's and Grandmothers's canned their food every year. You can do it too!


Next, prepare the tomatoes. You must remove the skin from the tomatoes. This process is called 
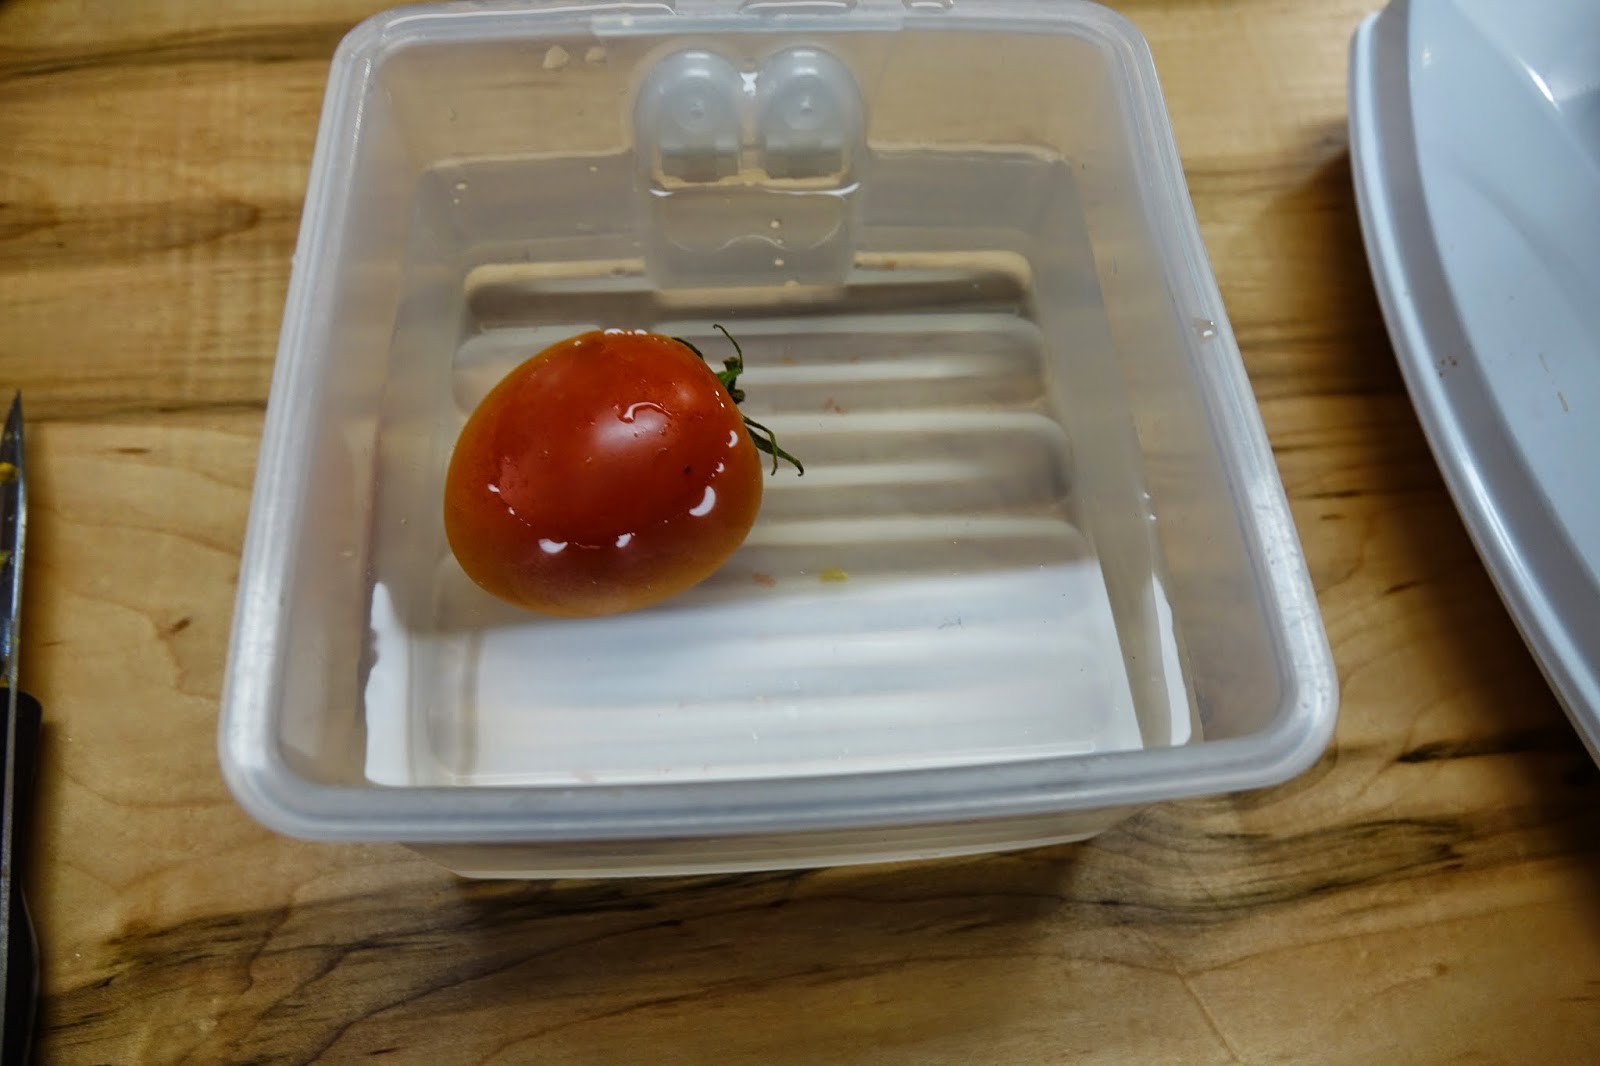
blanching. Have a large pot of water, boiling. Drop clean tomatoes into the boiling water. Let them sit in the hot water for 30-60 seconds. Remove the tomatoes from the hot water and put them into cold water. Let the tomatoes sit in the cold water for a minute or two. I have only used one tomato here for demonstration purposes. You can blanch 5-10 tomatoes at a time depending on how big your pot is and how big the tomatoes are. Using a small pairing knife, start at the stem end of the tomato. Cut the core of the tomato out. The skin should just peal right off of the tomato.


Roughly chop 8 cups of tomatoes. I have used red and yellow tomatoes.


I have used my food processor to chop the rest of the ingredients. You can chop them by hand if you do not have a food processor.
2 cups finely chopped onions.


2 cups finely chopped bell peppers, 4-8 jalapeño peppers(adjust the hotness to your taste) and six cloves finely minced garlic. I have used all green bell peppers here. Feel free to use whatever colour you wish. 


Put all the veggies into a large, heavy bottomed pot. Add the tomato sauce and paste, sugar, salt, cumin,   black pepper and vinegar. Stir well to combine the ingredients.


Bring the mixture to a boil, reduce the heat to medium and simmer for 15-30 minutes until everything is very hot and the veggies have cooked a bit. Remove from heat. If you wish, add a bunch of chopped, fresh cilantro at this point.


Ladle the hot salsa into the clean, dry jars. I like to use this canning funnel. It really helps to keep the spills at a minimum and keeps the tops of the jars clean.  You can purchase a canning funnel where you buy canning equipment. Here is one from Amazon. Leave about 1 inch of space at the top of the jar.


Put the lids and screw bands on to the jars. Make sure that you wipe off the tops of the jars before placing the lids on. Tighten the screw bands just a bit, don't over tighten them. 


Let the jars sit at room temperature overnight. As the salsa cools, the jars will seal. You will know they have sealed because the lids will be concave and will not move when pushed on. I do not 'process' my salsa in a hot water bath. You can do this if you would like to keep the salsa at room temperature for a long period of time. Follow the directions for hot water processing here.
Put the cooled jars in a cool dark place or in the refrigerator. The salsa will keep for several months. Make sure the jars are still sealed before eating the salsa. Sometimes, as it sits, the seal will fail. Make sure it has not spoiled before you eat it.


And now for the best part. 


Best Salsa

8 cups pealed, chopped fresh tomatoes
2 cups finely diced onions
2 cups finely diced bell pepper (any colour will do)
3-5 very finely chopped jalapeño pepper(make it as spicy as you would like)
4-6 finely minced cloves garlic
1/3 cup sugar
1/3 cup white vinegar
1 1/2 tablespoons pickling or kosher salt
1 teaspoon black pepper
1 teaspoon cumin
1-265 ml can tomato paste
1-296 ml can tomato sauce
 1 bunch coarsely chopped cilantro(optional)

6-8 pint jars

Instructions

  1. Start by cleaning your jars, lids and screw bands. Wash with hot soapy water or run them through the dishwasher. Let everything dry.
  2. Soak the lids in hot water to soften the sealing compound.
  3. In a large pot combine tomatoes, peppers, onions, jalapeños, garlic,sugar, vinegar, salt, pepper, cumin, tomato paste and tomato sauce.
  4. Mix everything well.
  5. Bring mixture to a boil, reduce heat and simmer for 15-30 minutes. Remove from heat.
  6. Add cilantro at this point if you wish.
  7. Ladle the very hot salsa into the very clean jars. Leave about an inch of room between the salsa and the lid. Wipe any salsa from the top on the jars.
  8. Put the lids and screw bands on. Tighten the screw bands loosely.
  9. Let the salsa sit at room temperature over night. Check to see if the jars have sealed by pushing down on the top of the lid. If the lid does not move and is slightly concave, then it has sealed.  The sealed jars will be shelf stable for 2 months, or more. If the lid does move, the jar has not sealed, store the unsealed jars in your refrigerator for a few weeks. You can also put your salsa jars into a water bath and process them to make them last even longer on the shelf. To learn more about water bath preserving check this out, or this one.
  10. Serve with tortilla chips for a great, wholesome snack. 


Sunday 8 June 2014

Winter Salsa Fresca


I call this winter salsa fresca because canned tomatoes are used. So, while you are waiting for those perfect summer tomatoes to ripen, use this recipe for all your family's snacking needs.

With just a few ingredients, it rivals the best restaurant salsas.


A food processor or blender make this salsa quick and easy to put together.
Use your elbow grease if you don't have a food processor or blender. The vegetables should be diced very finely.


A really great uncooked salsa, it keeps well in the fridge for a week.


Watch  me make it on Youtube.


1- 28oz can whole plum tomatoes
1 green bell pepper
1/4 onion
The juice from one or two limes
1-2 cups cilantro
1/2 tsp salt
1/2 tsp chili powder
1/2 tsp cumin
1 tsp sugar

Monday 7 April 2014

Awesome Curried Hummus

 It's just the best hummus, ever. You can't buy it this good. Tastes so fresh. You have control over how much oil and salt goes in. Really easy and quick, it makes a large amount. You can half the recipe if you would like.

I like to cook my chickpeas from dried. This is an extra step but, I think that it makes a superior product. You can purchase dried chickpeas in the 'import' section of your supermarket. They will be with the middle eastern items.


 Here's how to cook chick peas. They need to soak overnight

  1.  Put about four cups of the dried peas into a large soup pot.
  2. Cover with plenty of cold water. Make sure you have the peas covered with three or four inches of water.
  3. Cover and let them soak overnight
  4. In the morning, Drain the peas and cover with fresh water. The peas will have absorbed some water overnight.
  5. Bring it boil, reduce heat, partially cover and simmer for 1-2 hours until the peas are softened. 
  6. When they are soft, drain, and let them cool.
  7. Chickpeas freeze beautifully. I put them into a large zip-lock bag and freeze them in one layer. They will be easy to separate, so you can remove as many or as little from the bag as you like.
  8. They will keep for months in the freezer.
  9. They need about one hour to thaw or rinse them under warm water to speed up the thawing process.
Chickpeas are grown in Canada. Read the package and buy local.
Use canned chickpeas if you would like. Make sure to read the label, some brands add nasty stuff.

dried chickpeas
Lets make the hummus
  • 4 cups chickpeas or use 2 cans of chickpeas drained and rinsed.
  • 1/4 cup good quality olive oil 
  • zest and juice of one lemon( I use organic if I am going to eat the peal)
  • 1-1/2 tsp curry powder
  • 3 tbsp tahini(sesame seed paste, can substitute peanut butter)
  • 1 tsp cumin
  • 1 tsp garlic
  • 1/2 tsp salt
  • 1/2 tsp sugar(optional but balances the flavour)
  • water to make a smooth consistency
  • 1/2 bunch cilantro
Combine all, except cilantro, into a food processor. Process until smooth and fluffy( I like my hummus smooth, if you like yours chunky, process less) Add water a couple of tablespoons at a time to make it smooth. Add cilantro and process for a few minutes until the cilantro is chopped. Store in the refrigerator. The flavour will improves as it sits.

We like our hummus with raw veggies ( carrots, celery, peppers and pea pods) or pita wedges. Packed with protein and flavour. It will keep covered in the fridge for one week. A great thing to have ready in the summer for when guests pop over.


Awesome Curried Hummus